

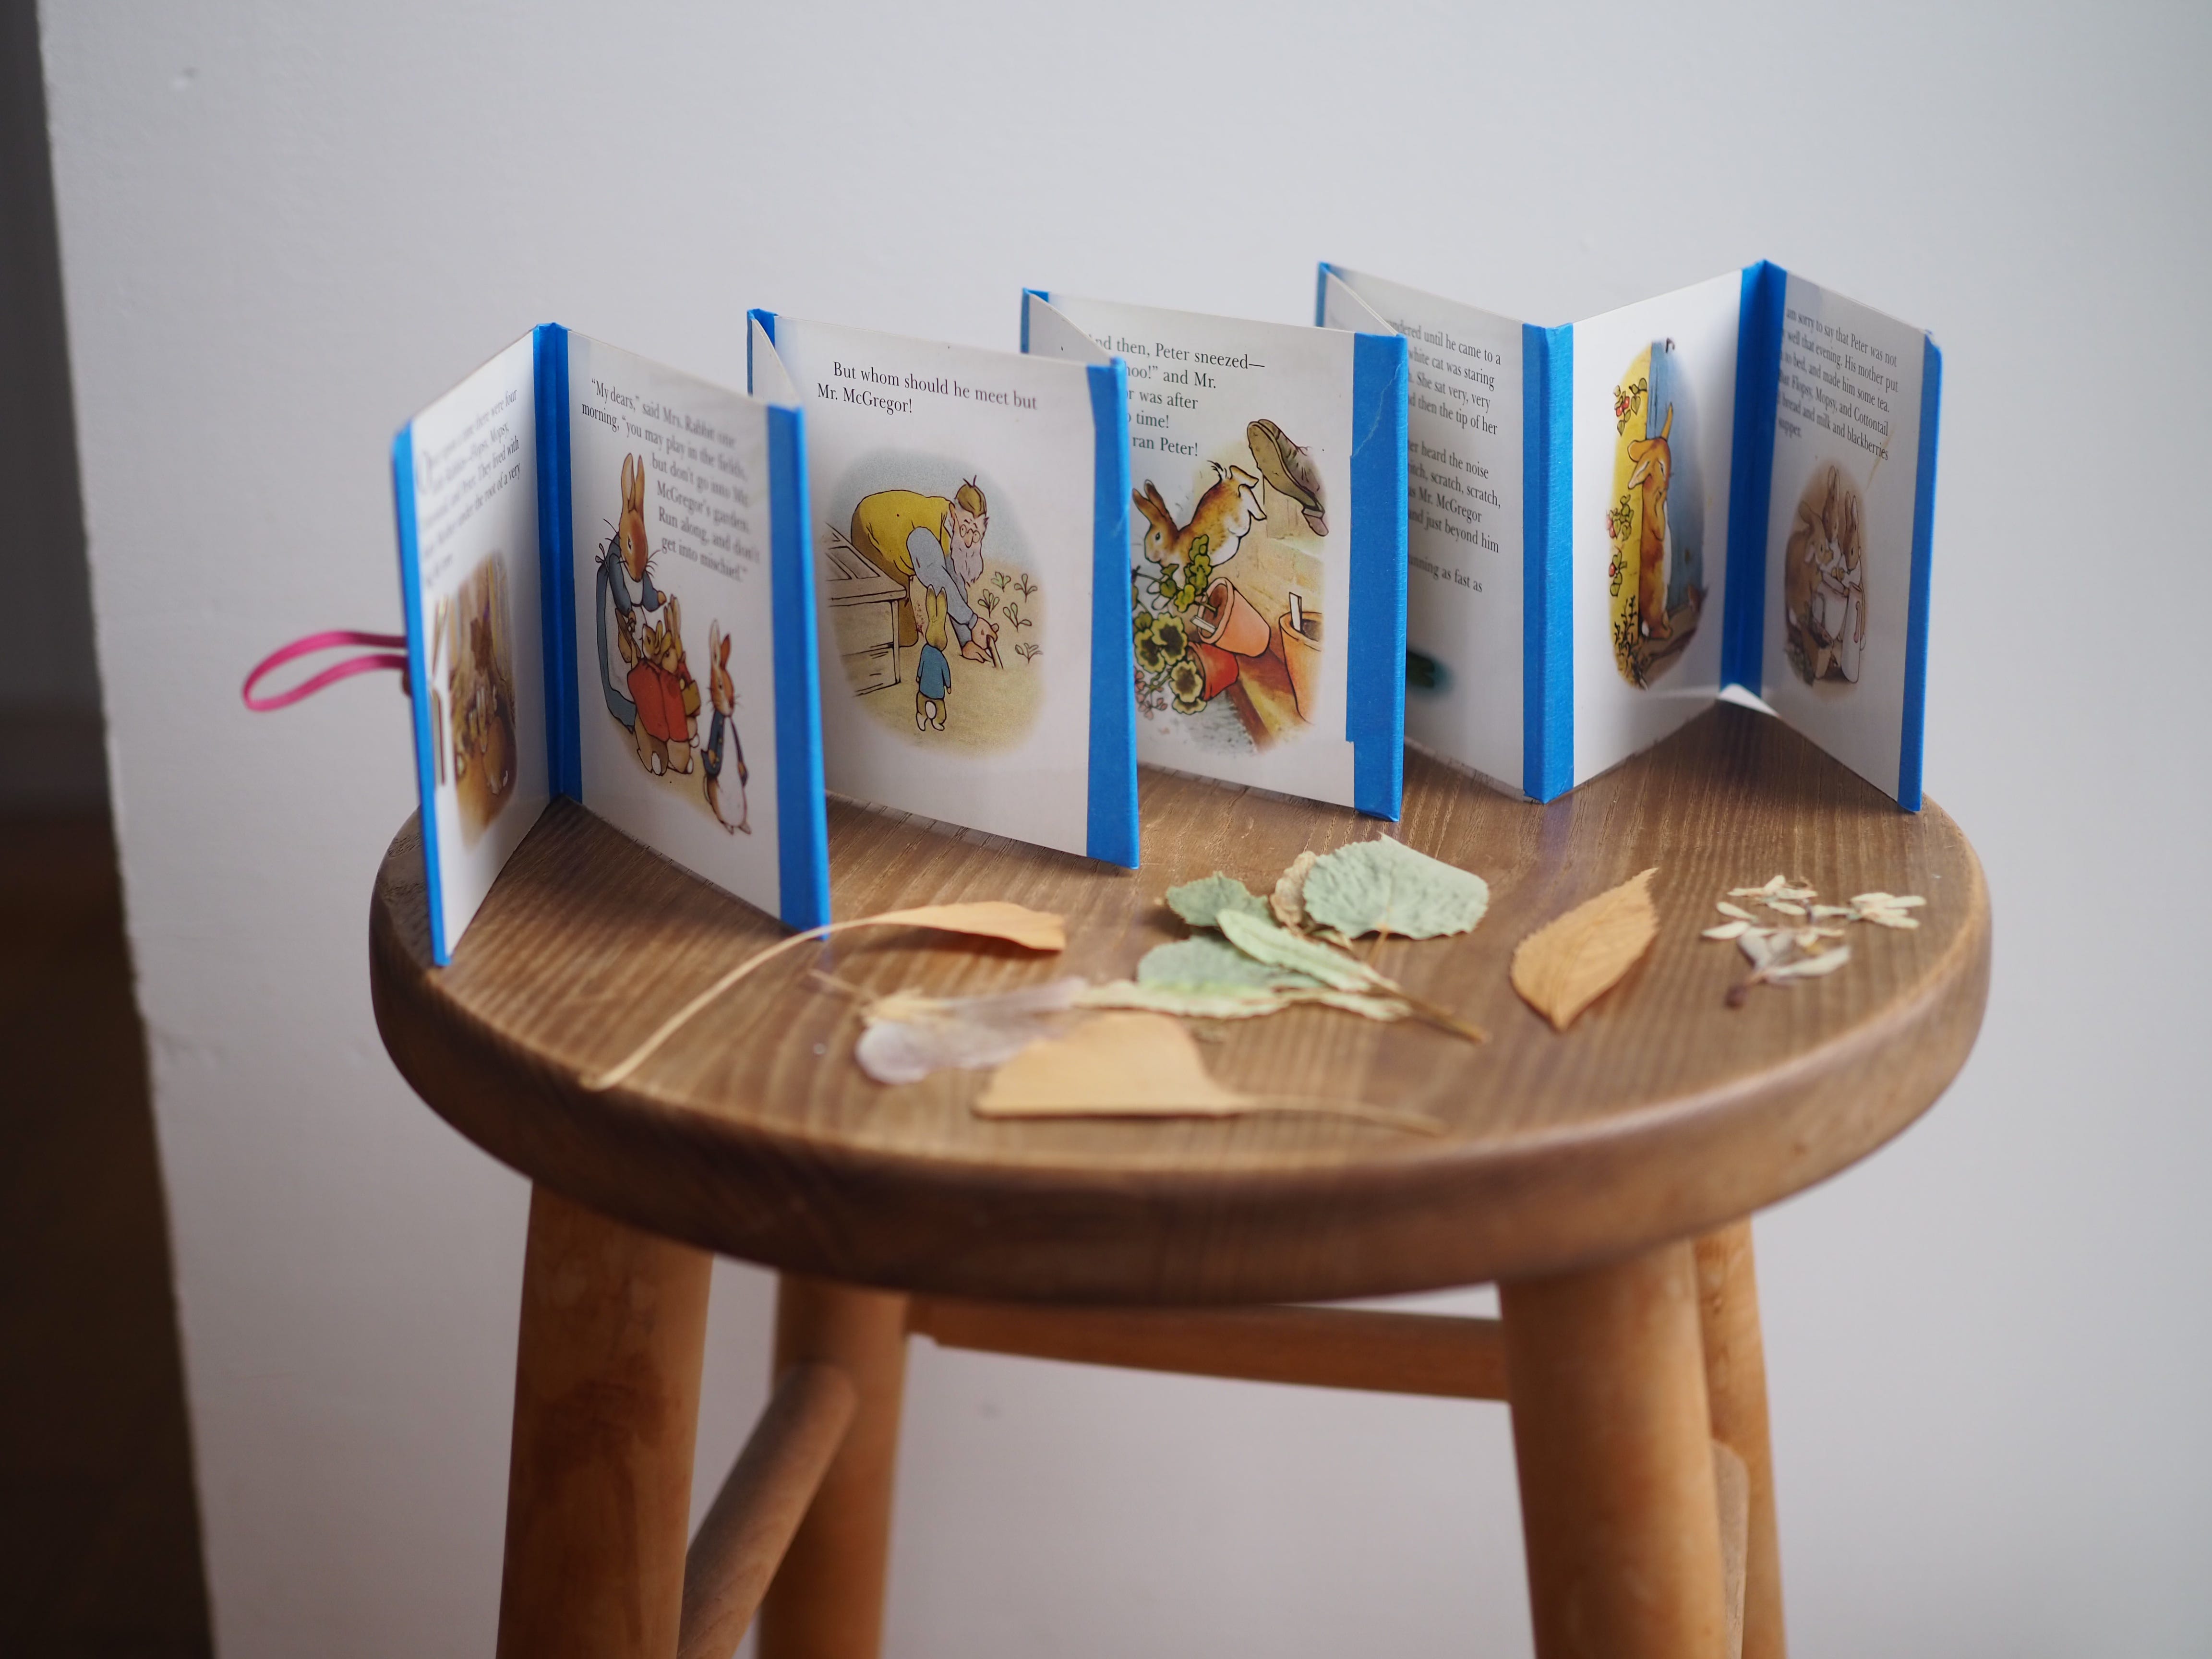
A new parent is no stranger to the baby board book. Illustrated stories on thick paperboard stock, enables chubby, tiny fingers to work on the fine motor skills involved with holding objects and turning pages. Wisely constructed, these sturdy books can be thrown about, chewed on, and easily wiped clean when needed. But the baby board book stage of childhood is short, quickly replaced with traditional paper books. The thick paperboard stories take up too much real estate on a shelf and often end up in donation boxes before a kid hits elementary school. Lucky for us crafters, used board books are easy to find, inexpensive, and the heavy stock can easily be reimagined, cut up, covered, and made into something altogether new.
There are so many ways to utilize the paperboard found in these old books, but I limited this post to three project offerings: sturdy boxes, paperboard folders, and an accordion flower press.
All of these projects were constructed using a rectangular or square baby board books and the following materials:
craft knife
hardware store tape
glue (optional)
scrap paper (optional)
rubber bands
hole puncher
metal fastener
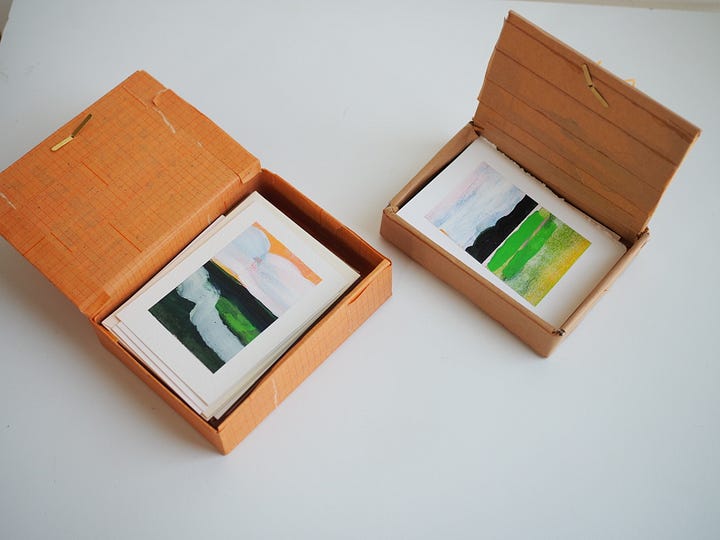
Baby book to sturdy box


For storage of stationery, stickers, and other loose bits, I wanted a strong box that wouldn’t get crushed in a drawer or when stacked on a shelf. The optional brad and rubber band closure keeps the contents safe.
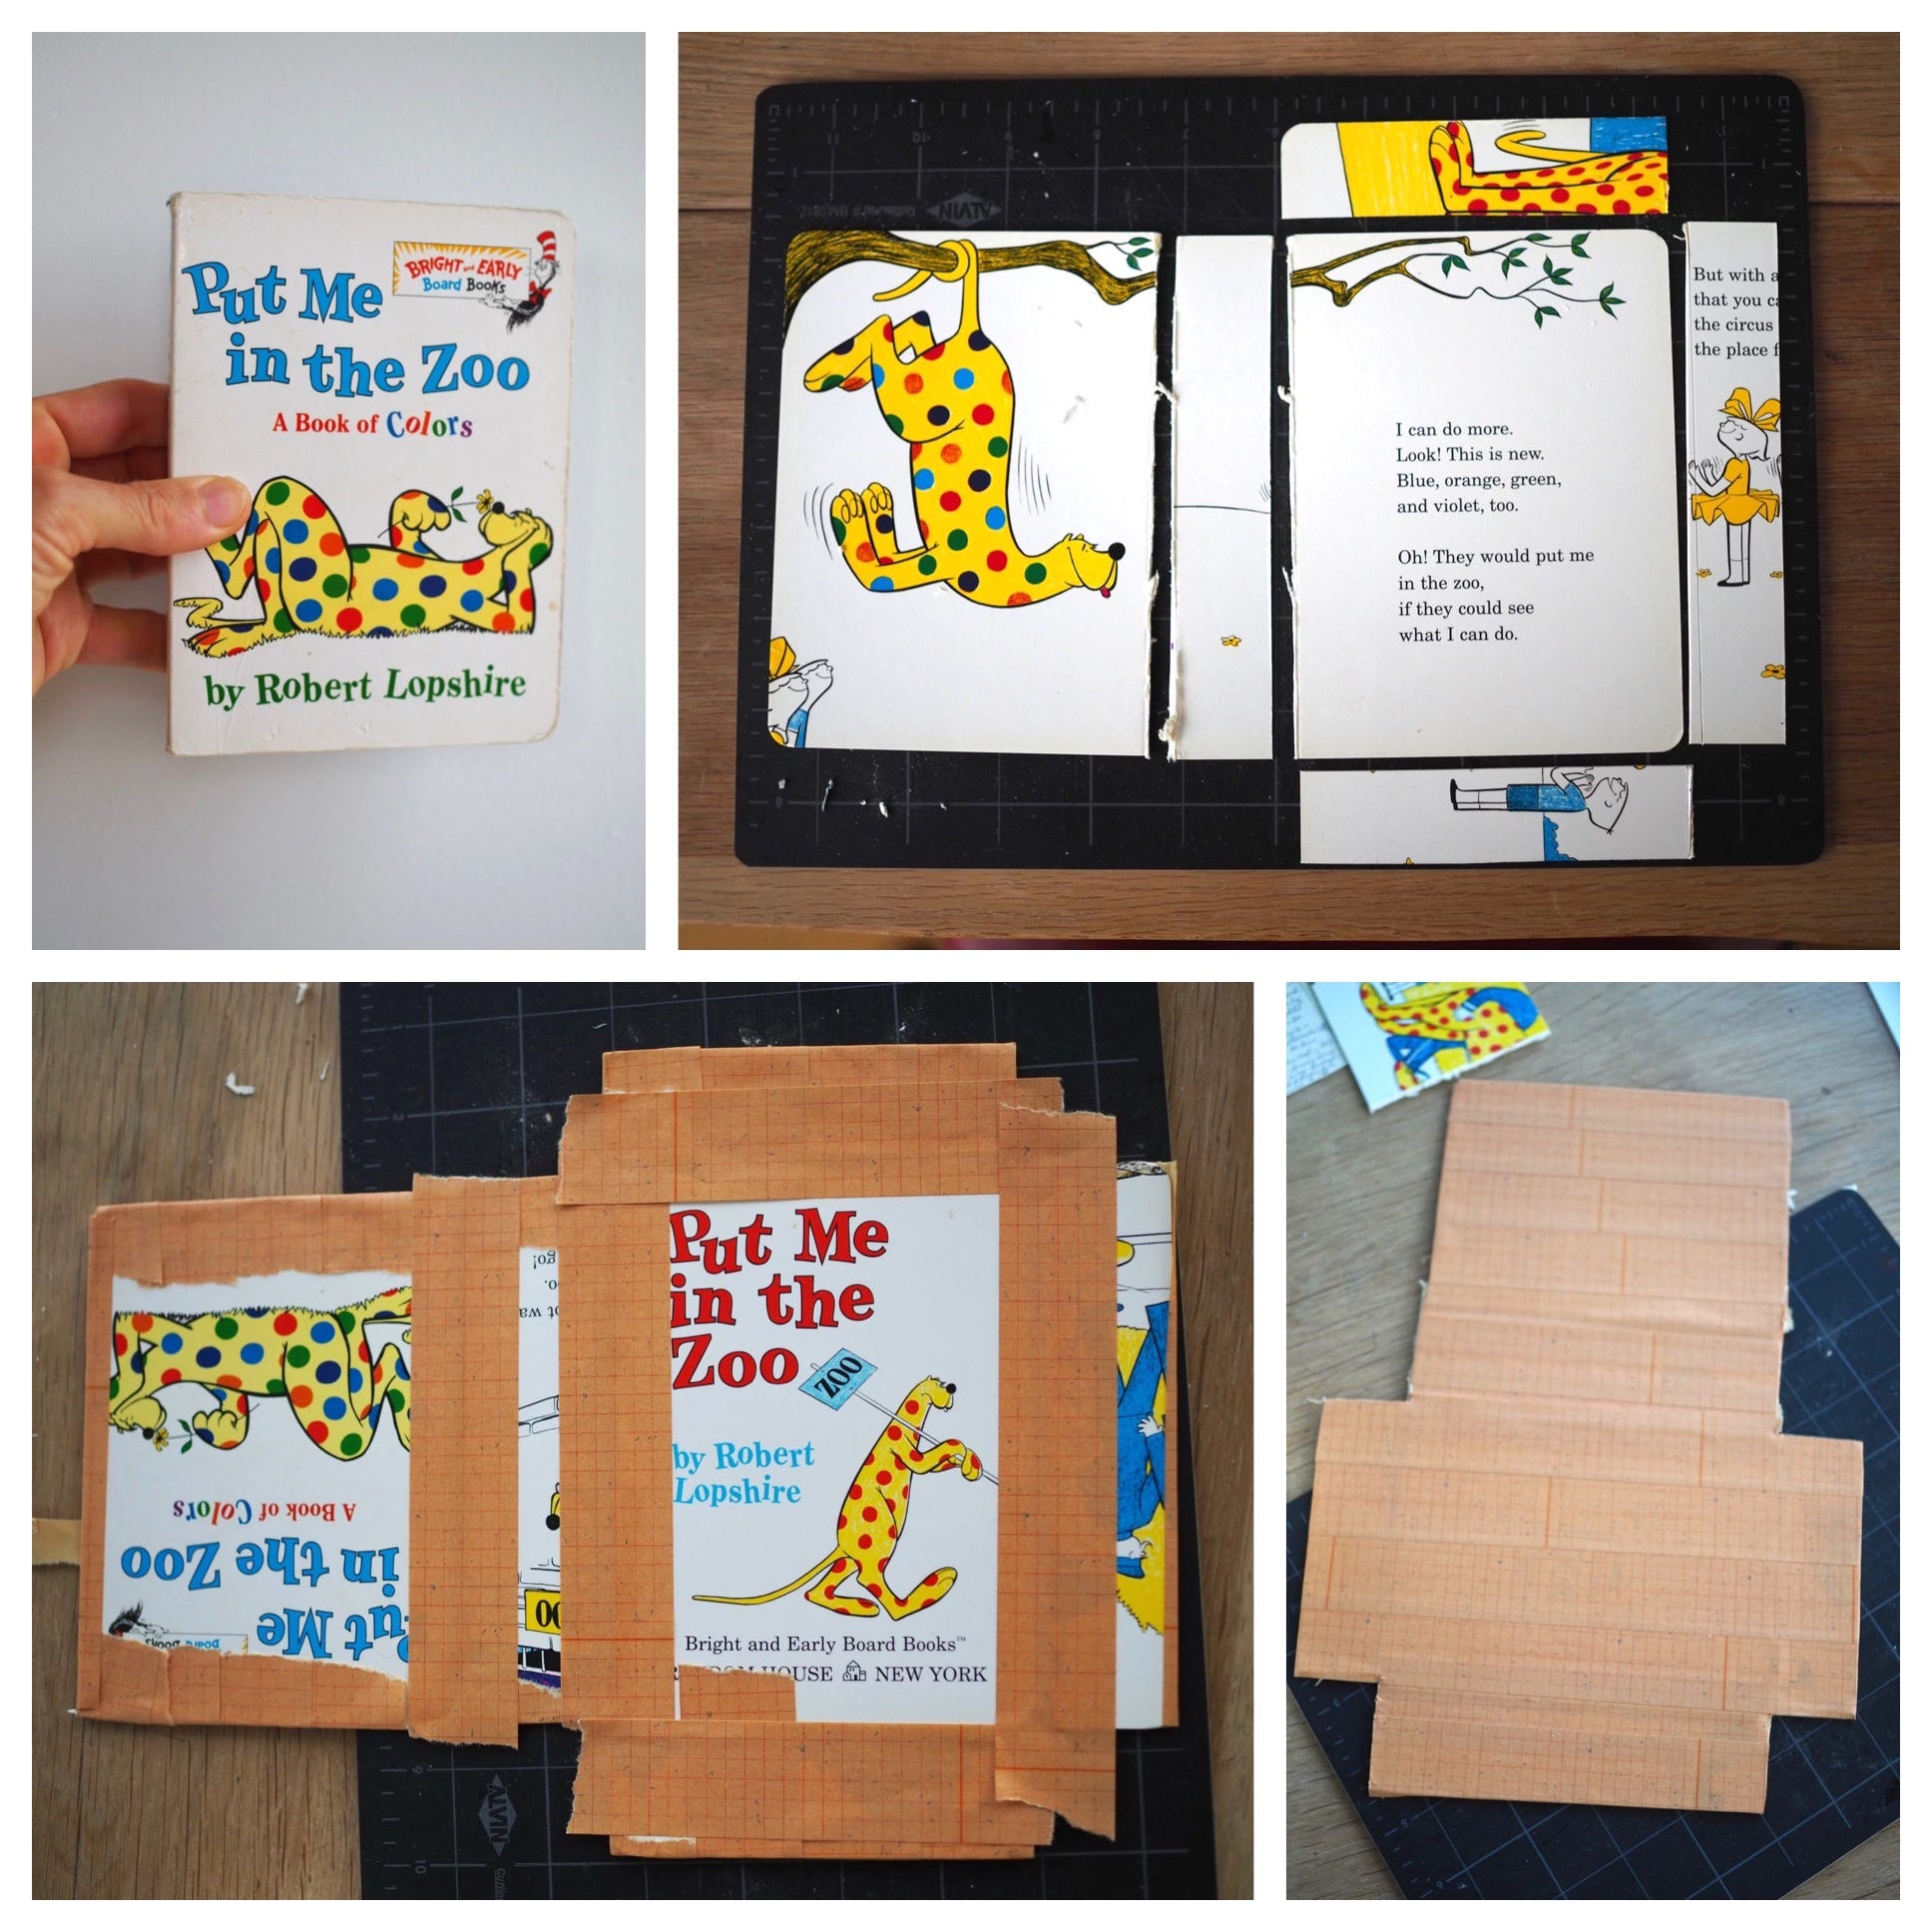
With a craft knife, cut from the binding two full-sized pages from your board book and set them aside. These two pages will be used for the bottom and top lid of the box. Cut an additional page and measure and cut into four 1 inch wide stripes for the sides of the box. You will need two longer pieces, and two shorter pieces that match up to the dimensions of the top and bottom pieces.
Lay 4 edges around one of the bases. Lay the second base on the other side of one of the longer edges. (see image below). Secure the pieces together at the connecting edges with long lengths of tape. Leave a little space between each cut-out piece as the gap will make it possible to hinge the box and fold it together.
Once all 6 pieces are connected, cover the remaining box surface completely with overlapping strips of tape, wrapping any extra tape over to the opposite side.

For the reverse side, you can use a rectangular sheet of paper and glue to conceal the area that the tape did not cover, or continue to layer pieces of tape so all the original board is covered.
With additional strips of tape, fold up the 4 edges attached to the base and secure them in place along the corners. This will build up the box and give it dimension. Small additional pieces can be used inside the corner edges to help further stabilize the box. Punch a hole along the center edge on the flap of the box. Insert a metal fastener inside the punched hole, and wrap a rubber band around the head of the fastener so it can be used to secure the box closed.

Baby book to paperboard folders


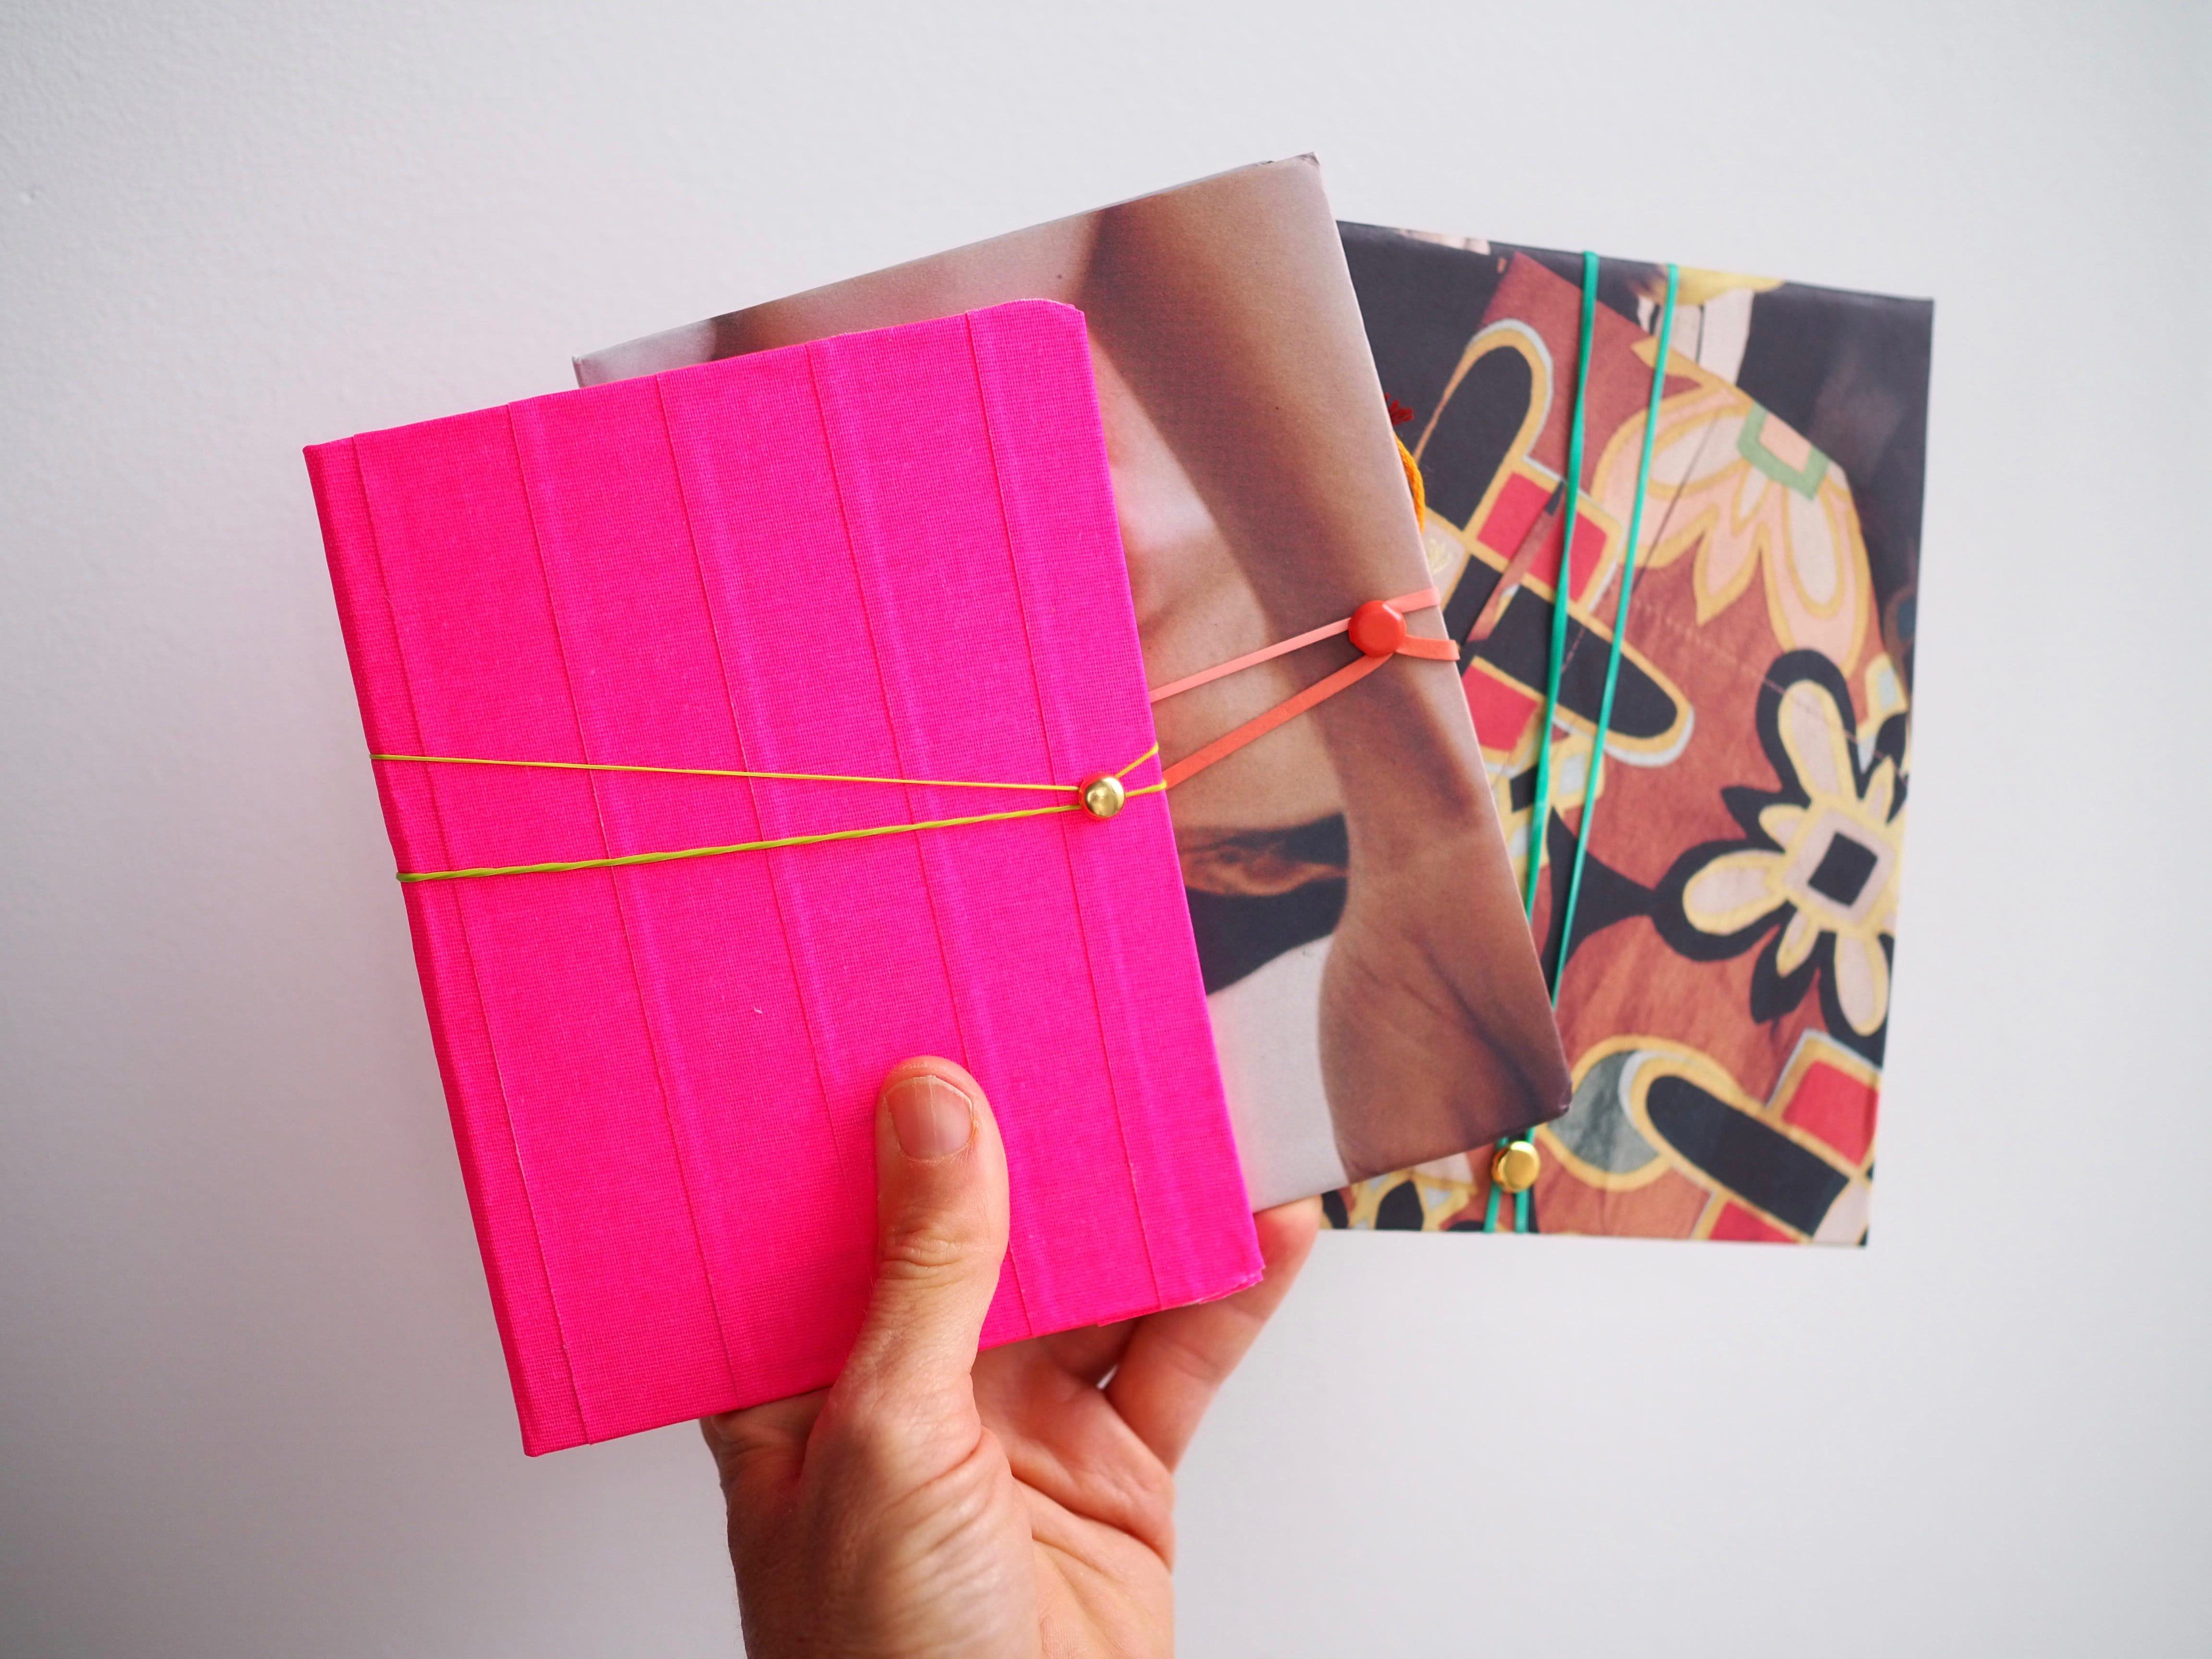
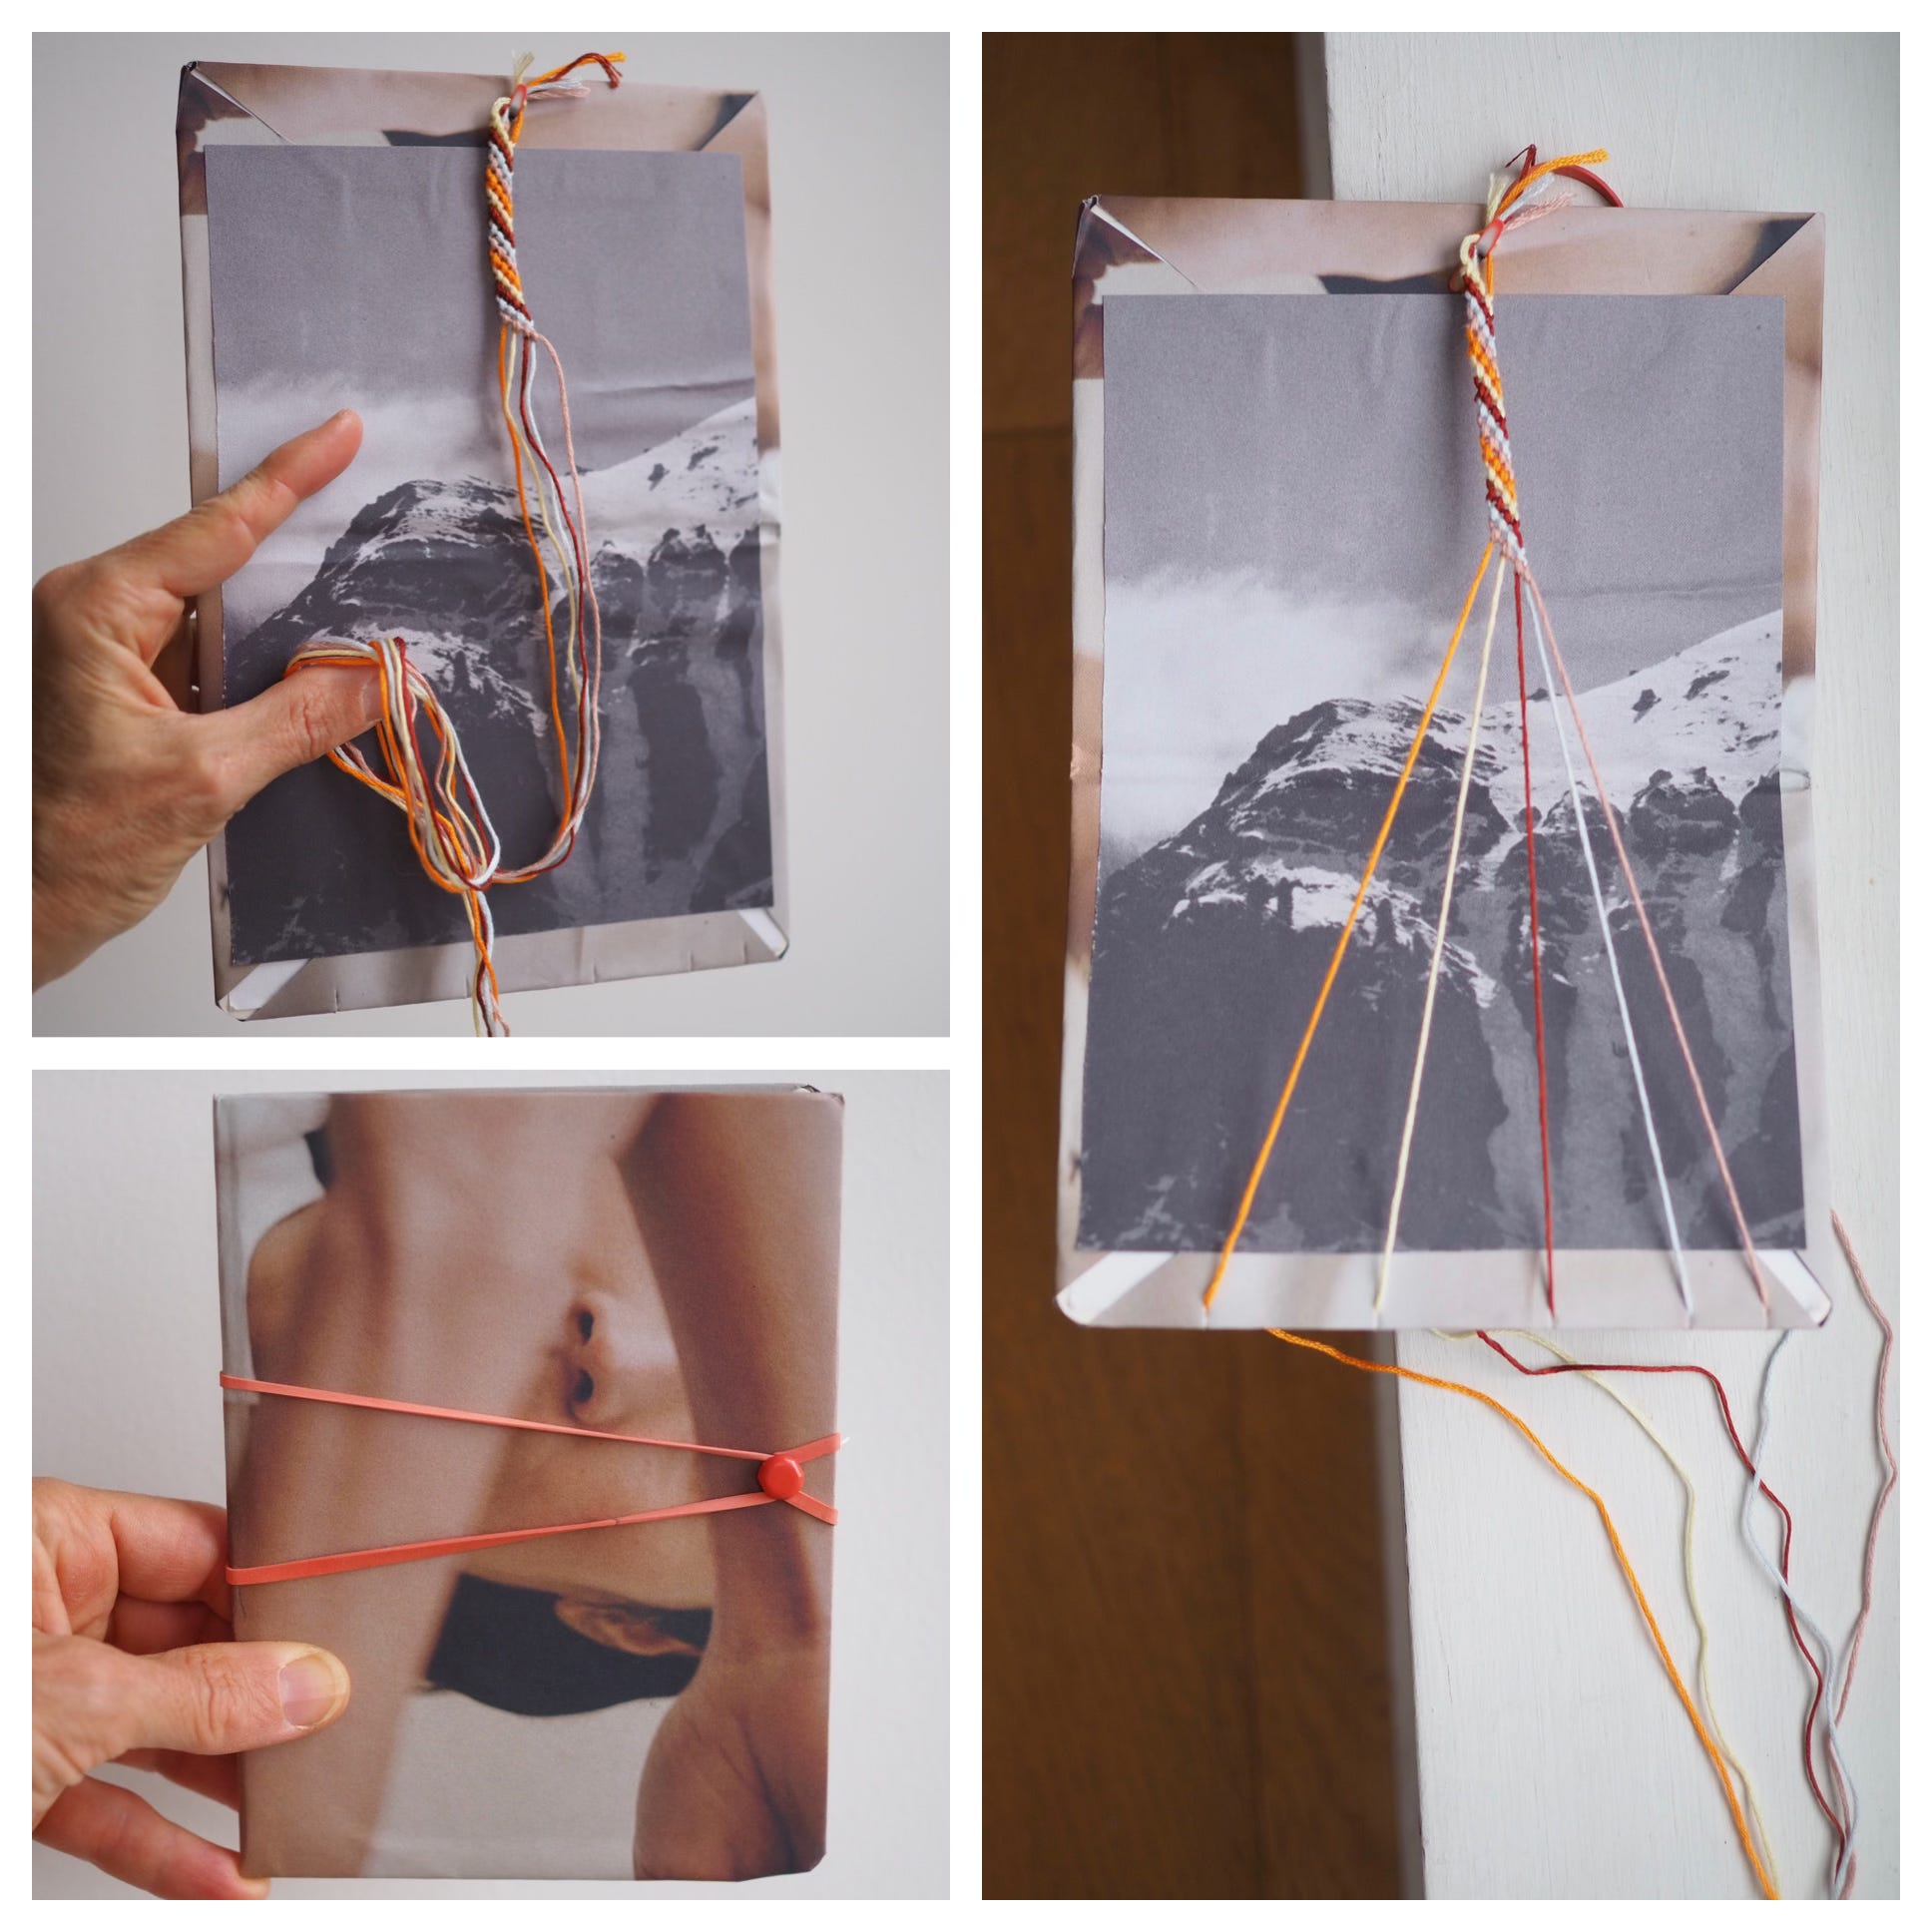
A simple hinge of tape connecting two separated boards can make a sturdy folder. Unlike the one I previously made here, there is no thick cardboard spine. You only need tape, and this is best suited for storage of thin, flat contents. On one of these pictured folders, I covered a side completely with tape, but all the other examples I wrapped and glued papers from books and magazines. All the folders are lined with scrap paper and glue on the inside. To make a closure for the folder, punch a hole at the center edge of the board, insert a metal fastener, and wrap a rubber band around the metal fastener. The rubber band can wrap around the folder and secure around the same fastener to close.


While this folder is perfect for holding loose papers, I thought the thick paper board could also provide a structured surface for a bracelet making. The board can be folded and bound tightly for travel, or opened wide and utilized as a stable surface for knotting a macrame style of bracelet. I made small incisions to the bottom edge of the paper board folder so each strand of string could be notched in place when creating the series of bracelet knots. The knotted top of the threads were secured in place through the metal prong feet of the fastener. If you need a refresher on how to make a candy stripe bracelet you can find a tutorial here.
Baby book to accordion flower press:
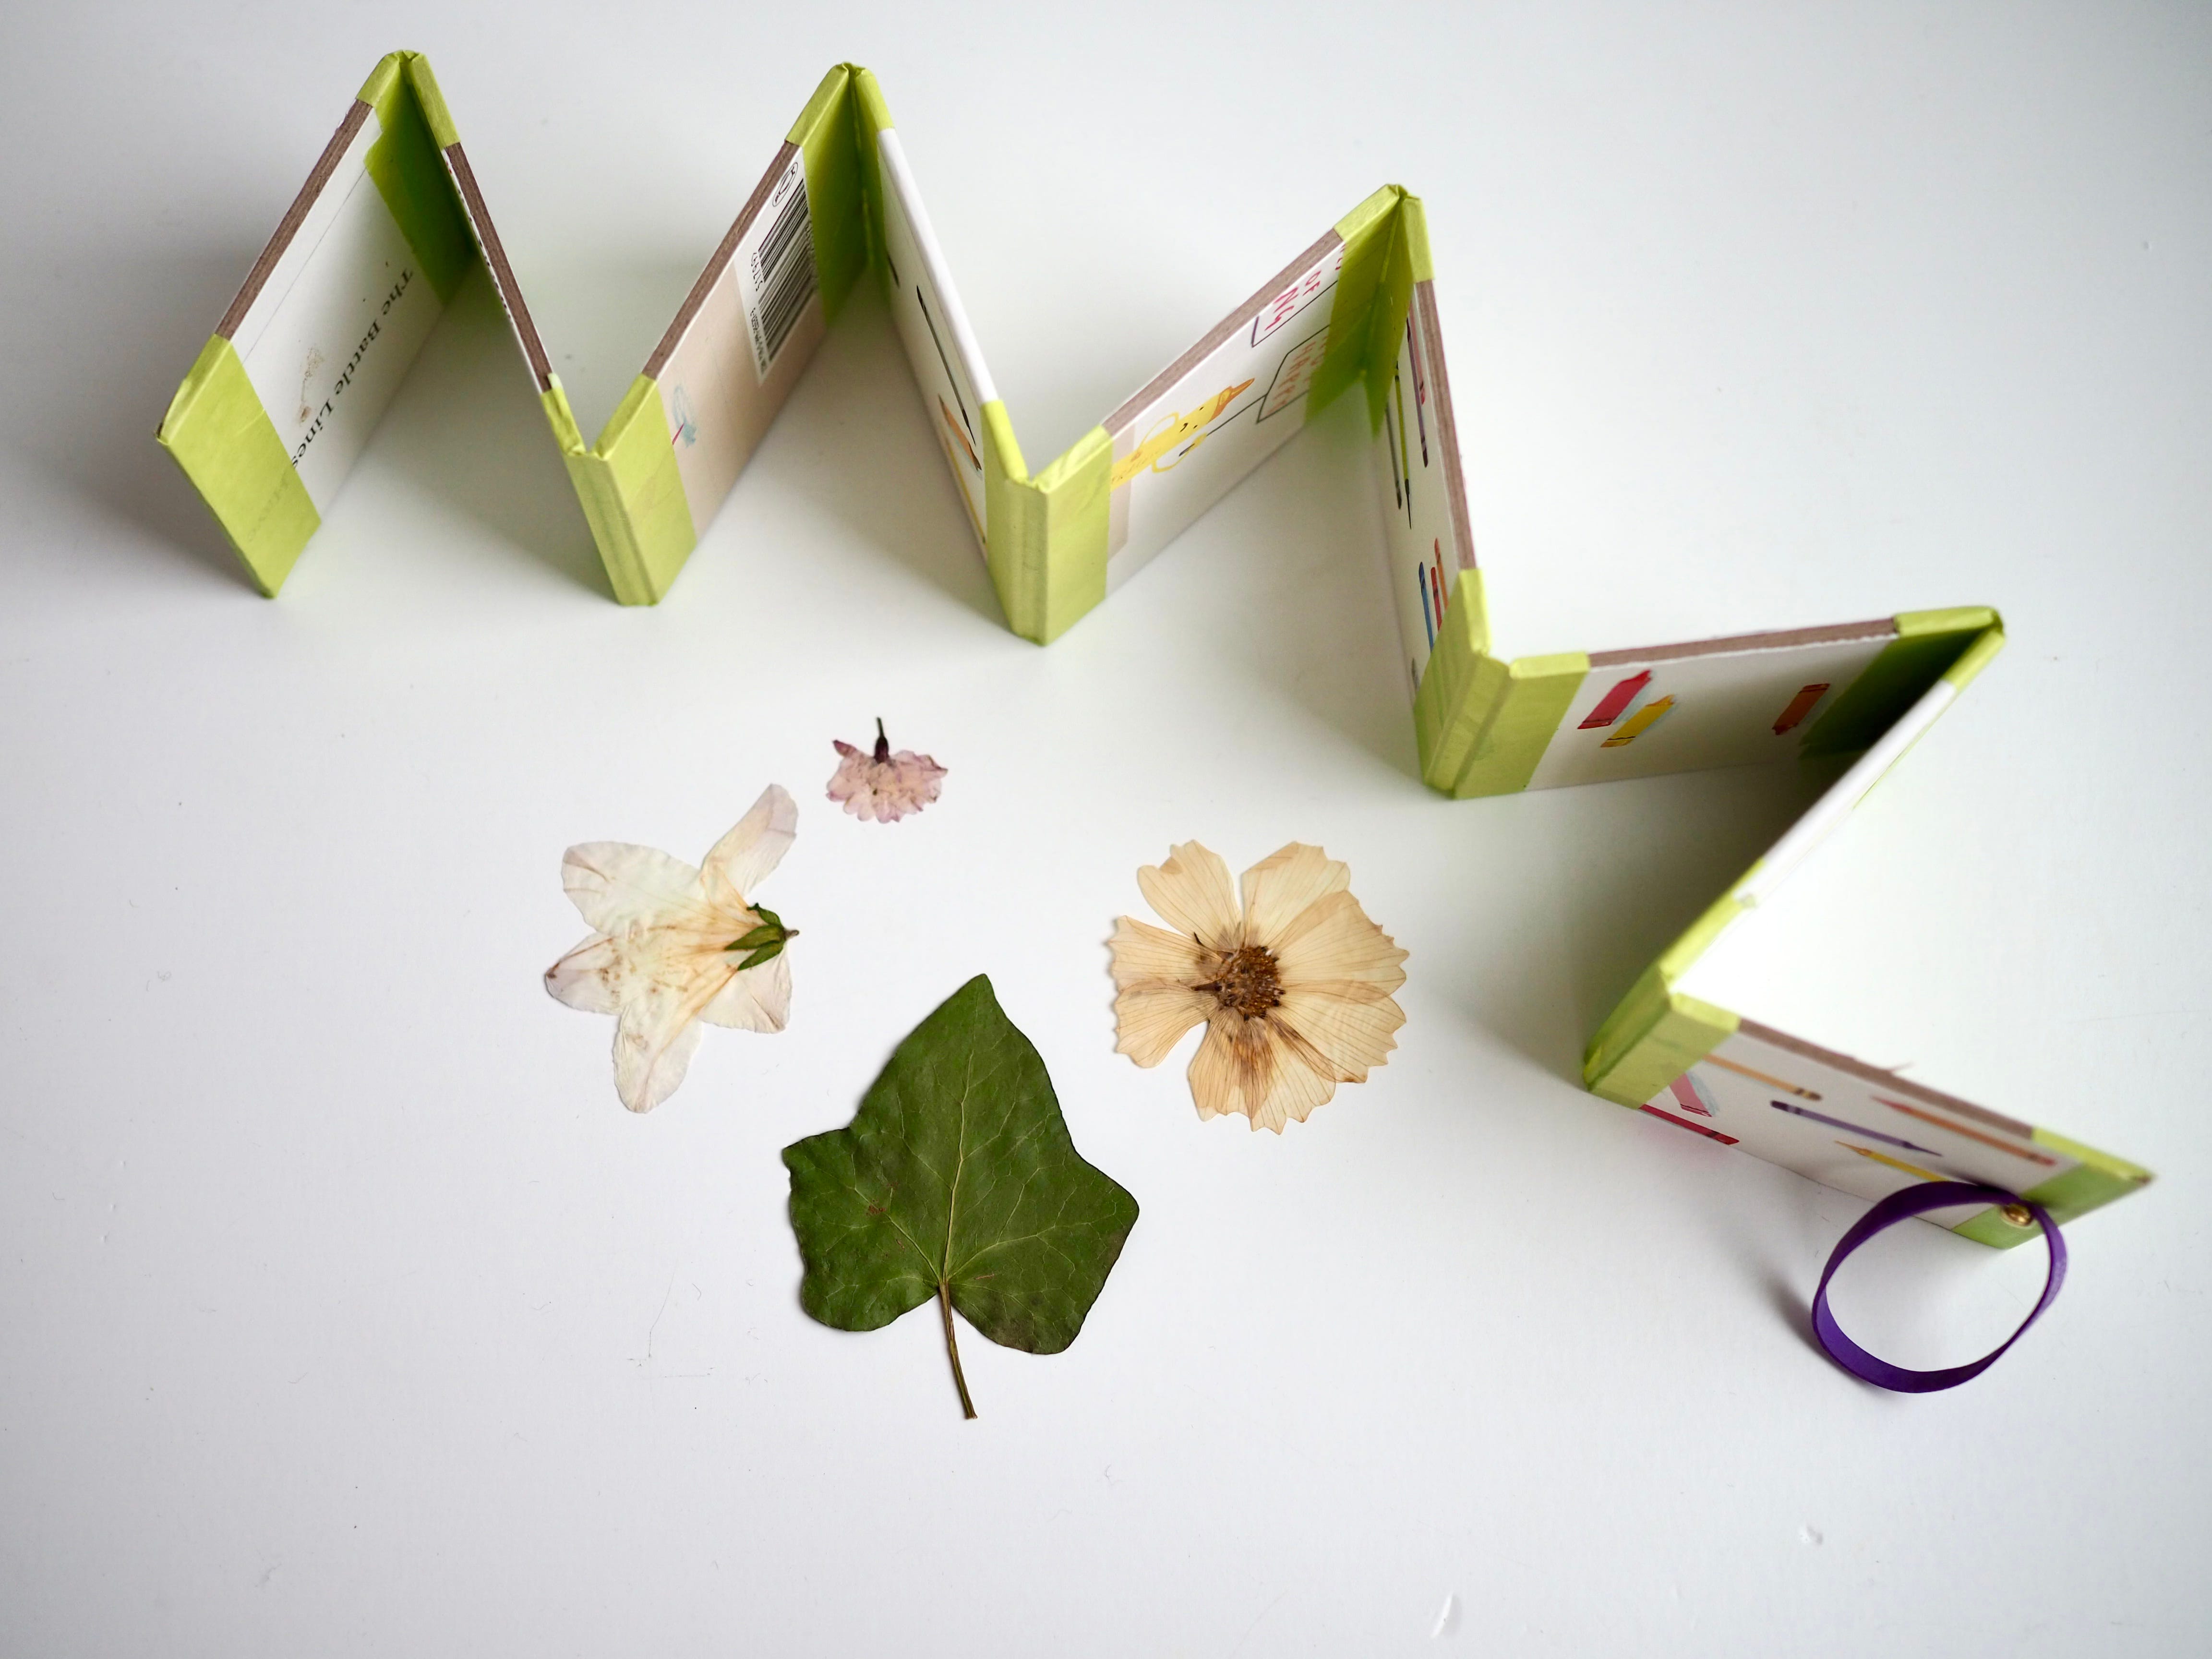
If you separate the pages of a board book, you can reassemble them back together in one long connecting strip to make an accordion press. In this way, a book can still be enjoyed for the illustrations while also being utilized for pressing flowers. The paperboard sheets are taped together along the connecting edges with some space between each one so they can easily bend forward and back like an accordion. The resulting book can be flipped through one page at a time, or expanded wide in a zig-zag. Because this press is made using paperboard of considerable heft, if bound together tightly it can press flowers without additional weight. A metal fastener with a thick rubber band closure does most of the pressing. If necessary add a few more bands for a tighter squeeze. See tips on pressing flowers here.


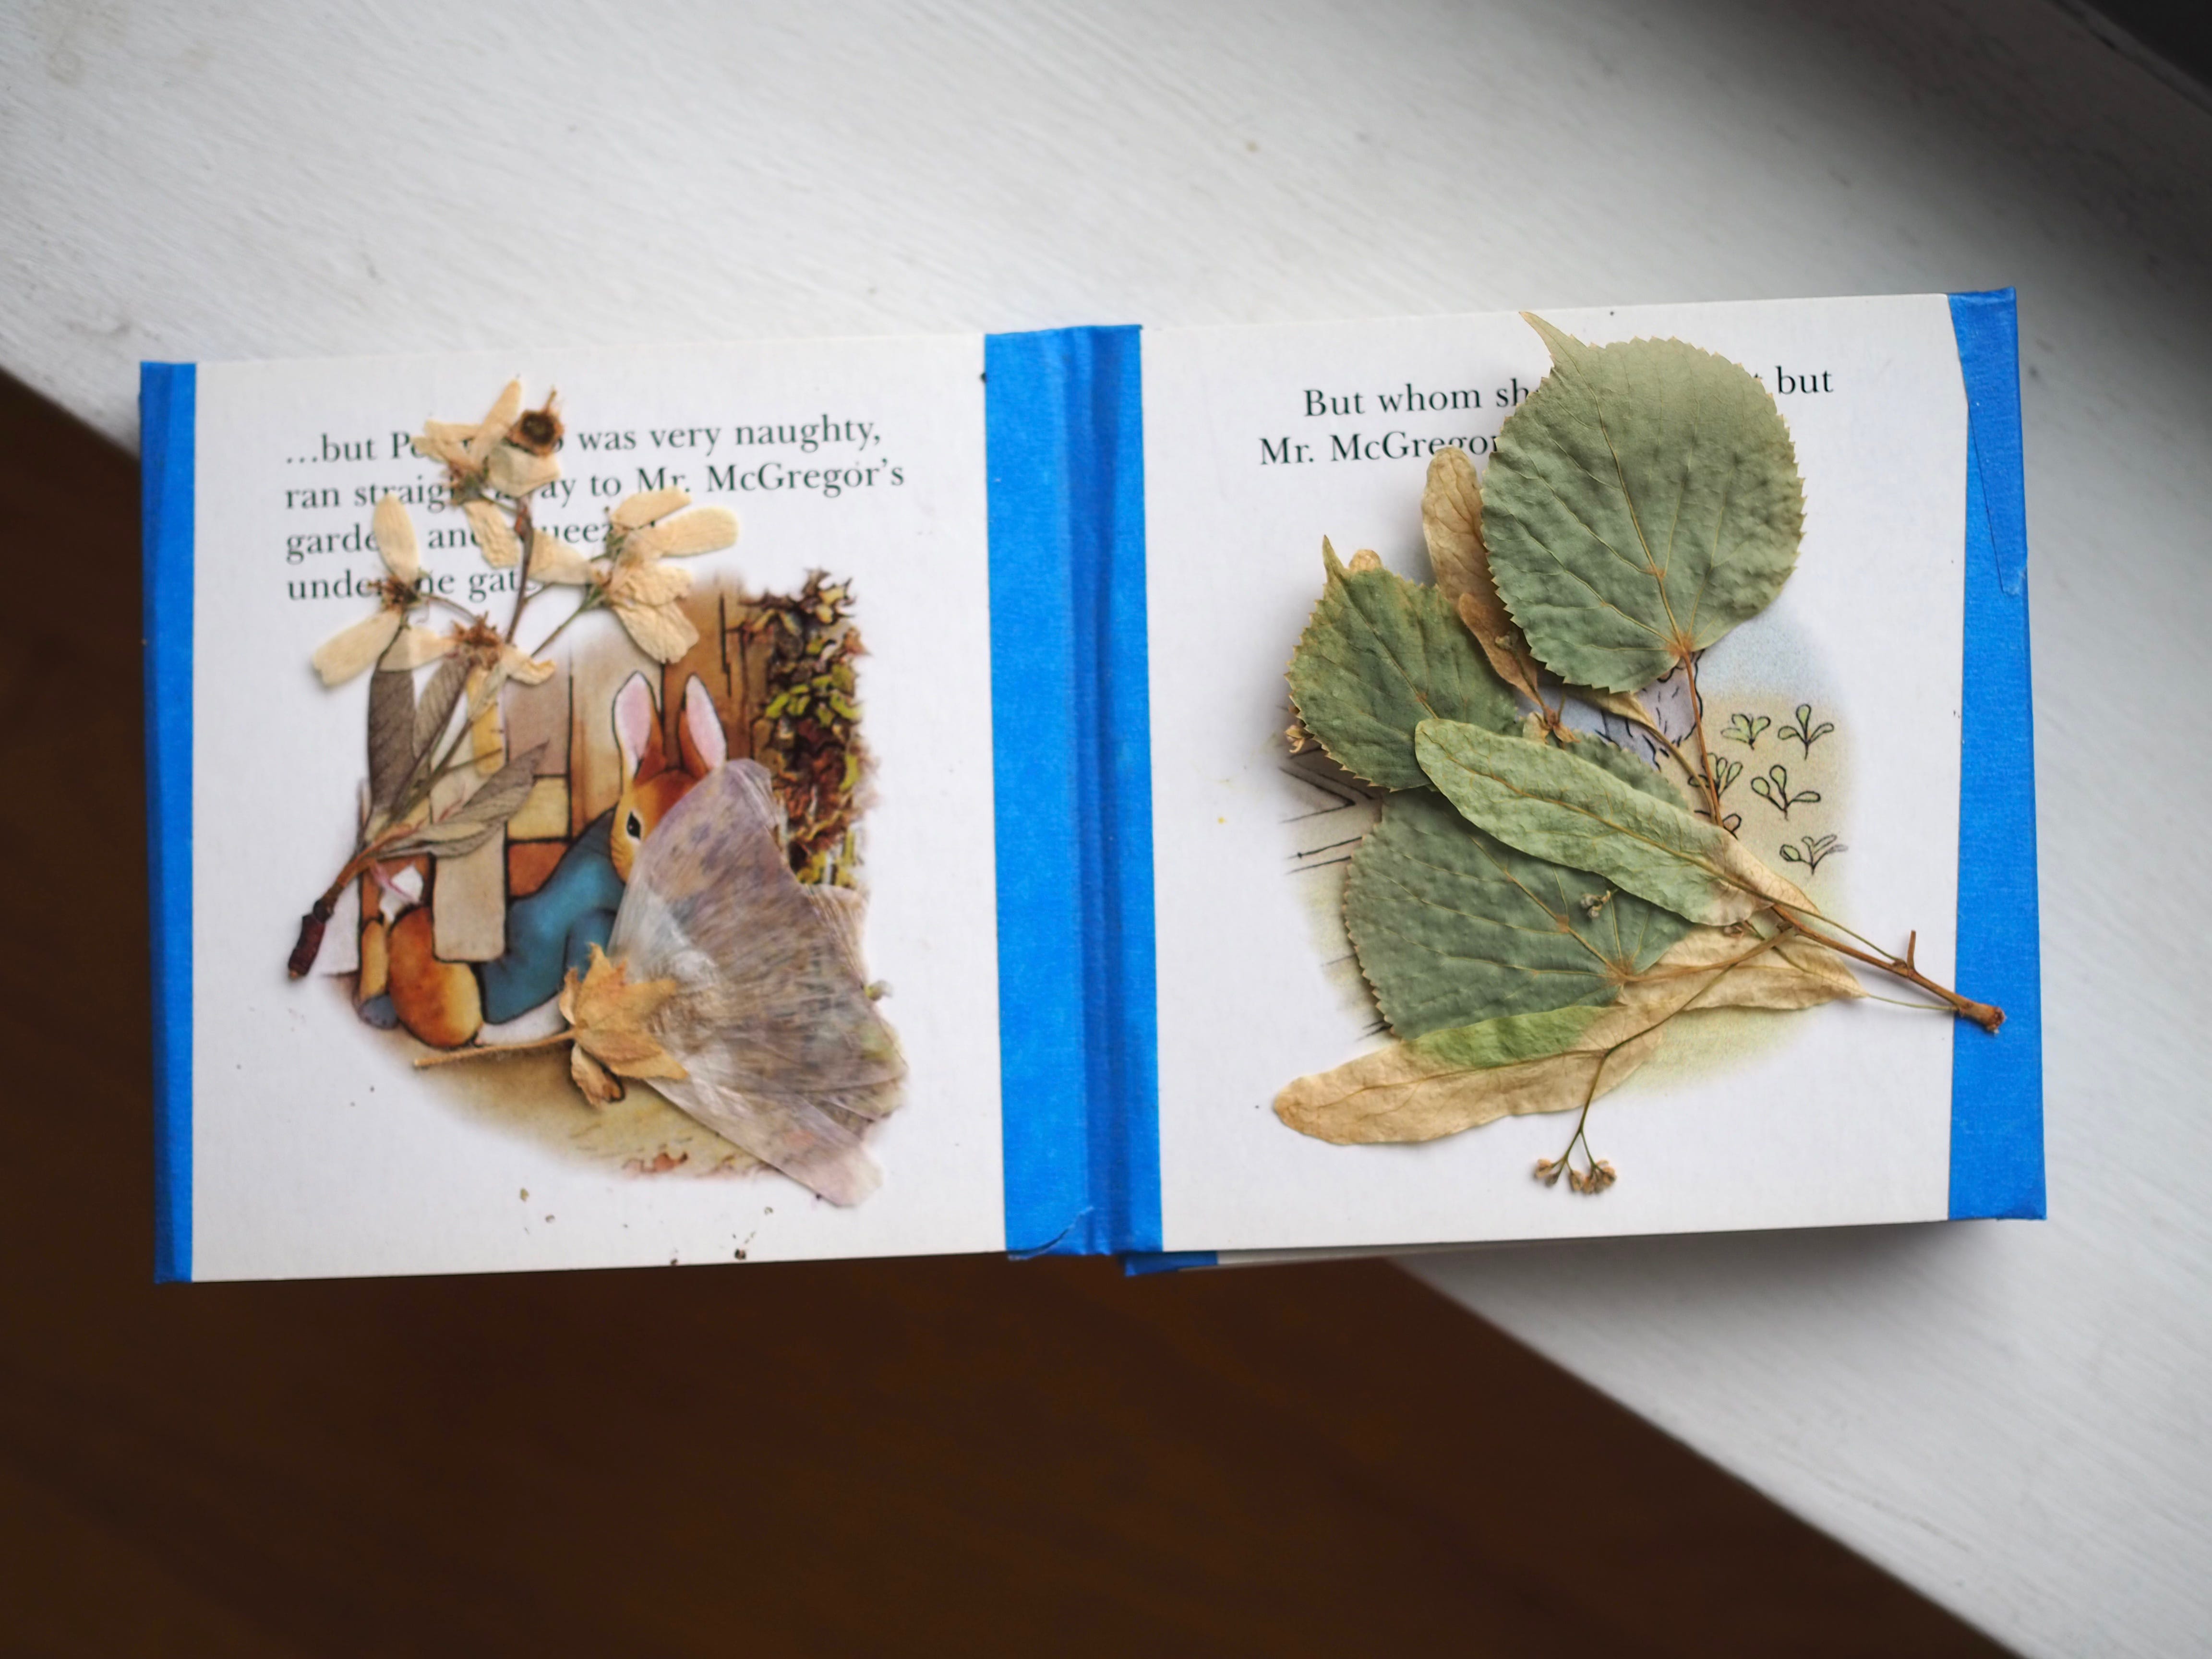
Alright, three baby books cut, taped, bound, and put to good use!
We’re still reading our board books so I’ll save this post for when we’re done with the baby stage…maybe in a decade? 😂
These are lovely ideas. I have used them as child friendly photo albums - covering each page with paper, then photos, then clear tape. Usually telling our story about a day out. Very robust keep sake. My eldest still has hers at 16.